How to make an advanced transaction
Definitions of Unspent and UTXO
Each transaction consists of a series of "Inputs" and a series of "Outputs". Inputs are composed of a "UTXOs" list, that is, "Unspent Transaction Output". In Output there are the recipient's addresses with the corresponding amounts and any other sender's account address that contains the "remainder" of the transaction, i.e. the difference between what is take by the output and what is sent to the recipients (minus the fees, i.e. commissions needed to make the transaction valid).
Let's make an example: imagine that you have to send a payment to a certain person. In order to do so, you have to prove that you own unspent transactions, that is, UTXOs on your account. Melis will use certain criteria to select which unspents to use for the transaction. For example, you have to pay 3.5 BTCs and you own two transactions received (UTXO) amounting to 5 BTCs and 15 BTCs, if Melis chooses the smaller one you would get a remainder of 1.5 BTCs. You'll find yourself with an unspent of 15 BTCs and one of 1.5 BTCs, while the recipient will have a new 3.5 BTCs unspent.
How to build an advanced transaction to achieve "UTXO Merge Avoidance"
If you received two transactions amounting to 2 BTCs and 3 BTCs, when you have to spend more than 3 BTCs you will use both of them. An external observer (i.e. that can only control what happens on the blockchain) may deduce that the destination addresses of those two transactions, even if different and therefore apparently disconnected (before being spent, nobody could know who they belonged to), depend actually on the same person because they are used as inputs in the same payment (for example, to pay for 4 BTCs). A more advanced system, that can be used to avoid this problem, consists in the receiver (the one that have to receive the aforementioned 4 BTCs) that gives not just one address but two different ones, and then:
- you create a first transaction with a 3 BTCs input (without remainder) to be sent to the first address;
- you create a second transaction using the 2 BTCs input, you will send 1 BTC to the second address and create a 1 BTC remainder.
In this way an external observer sees two unrelated TXs and cannot know that they are part of the same payment (and therefore owned by the same person).
N.B .: In the explanation above we intentionally omitted the problem of fees to simplify the concepts, which remain valid
How to use Melis to implement the above scheme
Before starting an advanced transaction, you can consult the FAQ on how to make a simple transaction on Melis at the following address: How to make a transaction.
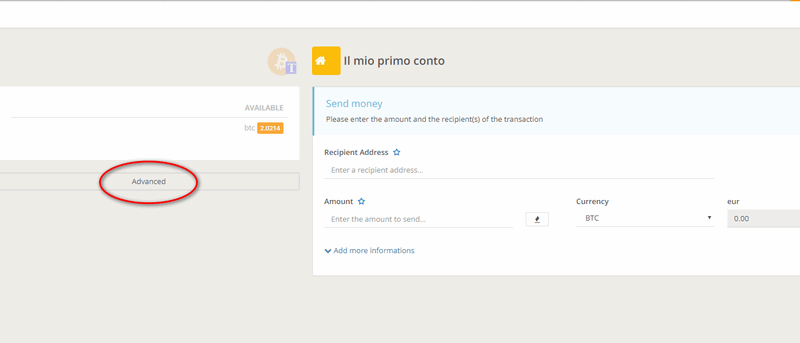
In the simple transaction screen, click on the "advanced" button as shown in the image below.
If there were any changes, you can return to the previous simple transaction screen by clicking on the "Arrow" button as shown in the image below.

In the advanced transaction screen there are two more options than in the simple transaction one and, as you can see from the image below, they are found by clicking on the "Input" tab and on the "Options" tab.

Let's start from the Input box. By clicking on the "Input" tab you will see the following screen where you can select or de-select the automatic selection of inputs.
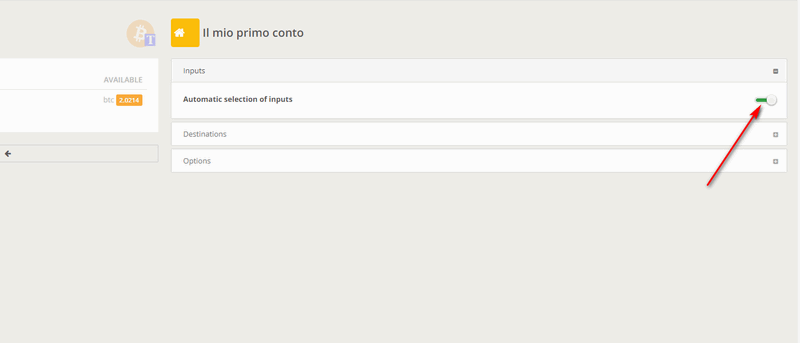
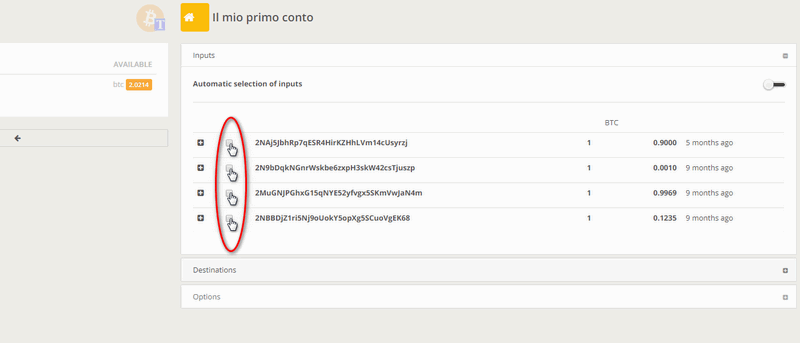
If you de-select the option, you will be able to observe all the unspent transactions on your wallet and select the one or those that are most suitable for you.
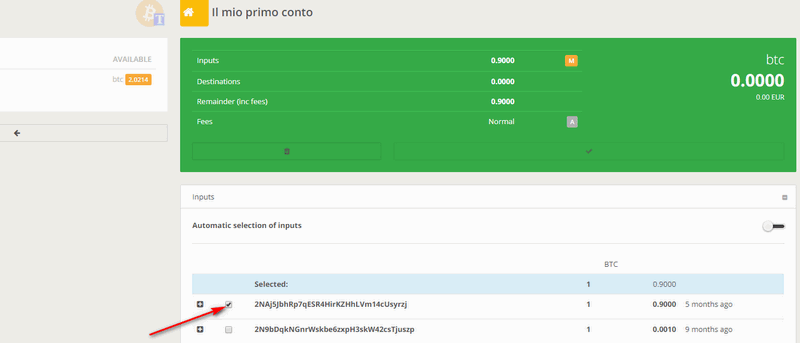
After selecting an input, proceed with the normal compilation of our transaction by selecting, as the second image below shows, the tab "Destination". In the case in question, we have selected an input of 0.9 BTC; of this input it is possible to send a part or the whole amount

Then click on the Options tab and you will see some parameters already known (RBF, Unconfirmed) that were explained in the previous FAQ, "How to make a transaction". The extra item that does not appear in the simple transaction screen is that referring to the automatically set fees, as you note from the number (2) in the image below.
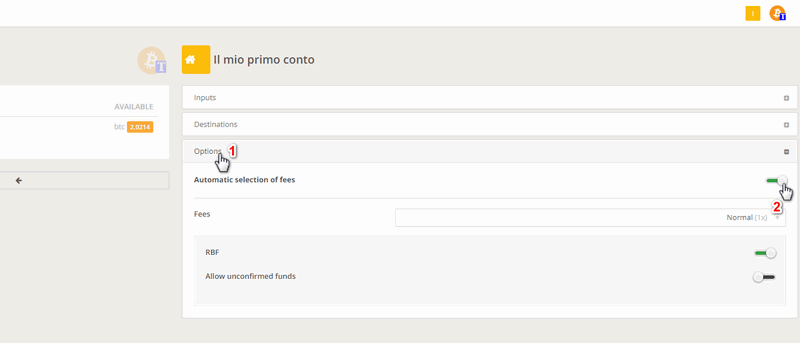
De-selecting this item, the user will proceed to set independently the fee amount he/she intends to pay to send the transaction.

As shown in the image below, after selecting the recipient (1) and the amount to be sent (2) (by clicking on the flamed icon the whole input is sent), you can confirm your transaction and send it (3).

Don't you find the answer you need?
Click on the "Feedback" button at the bottom left and explain us your problem.